Sort Dumpster Finds effectively and you’ll turn random discoveries into organized treasures that actually add value to your life. Most new dumpster divers make the mistake of bringing everything home first, then trying to figure out what to do with it all later.
The key to successful dumpster diving isn’t just finding good stuff – it’s knowing how to categorize, clean, and store your finds so they don’t turn your home into a cluttered mess. Smart divers sort as they go and have a system for everything they bring back.
TL;DR
- Sort items into 5 categories: Keep, Sell, Donate, Repair, and Trash within 24 hours of diving.
- Clean all finds with disinfectant wipes before bringing them inside your home.
- Store sellable items in clear bins with labels showing the date found and estimated value.
- Set a 30-day rule – if you haven’t used or sold an item in a month, donate it immediately.
Sort Dumpster Finds Using the Five-Box Method
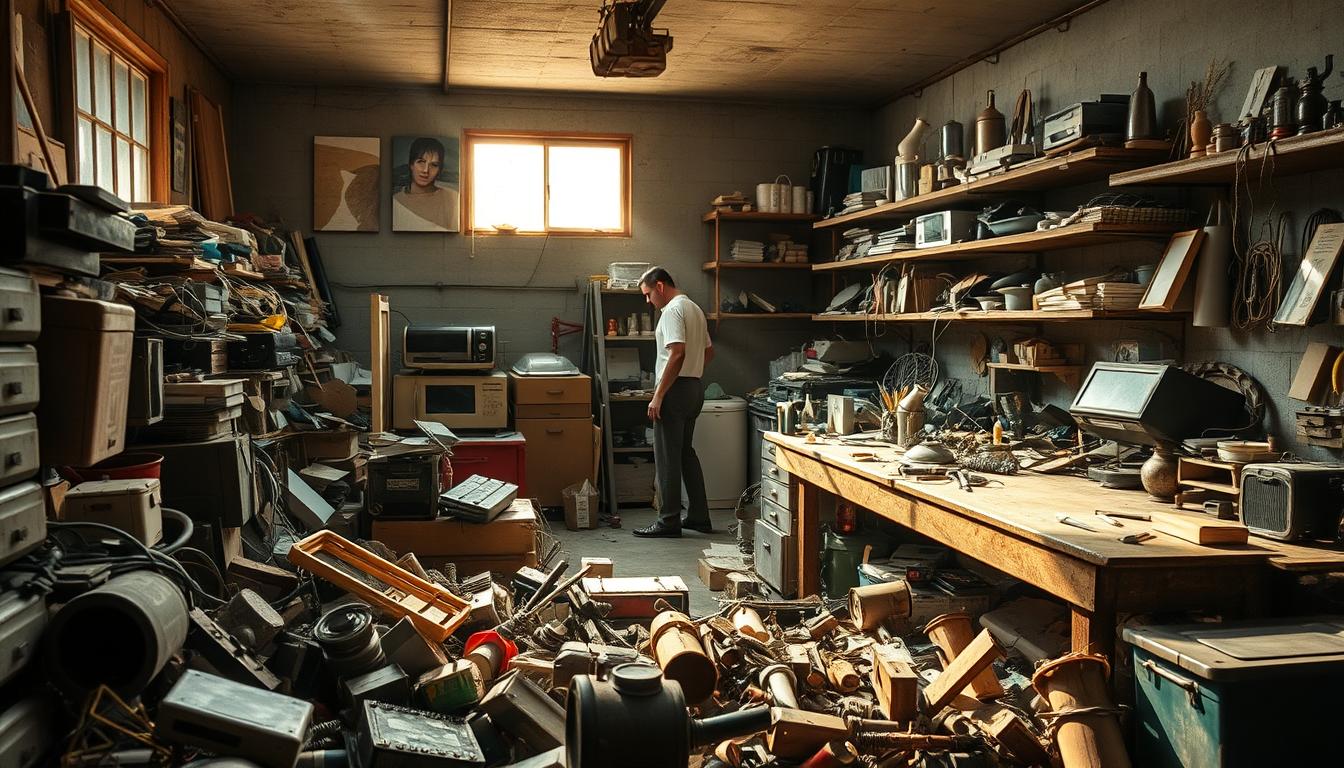
The five-box method keeps your finds organized from the moment you bring them home. Set up five containers in your garage or designated sorting area before you even head out on your dive.
Label each box clearly so you can make quick decisions without overthinking each item:
- Keep Box – Items you’ll use within the next month
- Sell Box – Valuable items worth $5 or more
- Donate Box – Usable items you don’t need
- Repair Box – Fixable items with good potential
- Trash Box – Damaged items beyond saving
Clean Before You Sort
Always clean your finds before sorting them into categories. Use disinfectant wipes or a bleach solution to sanitize everything, even items that look clean.
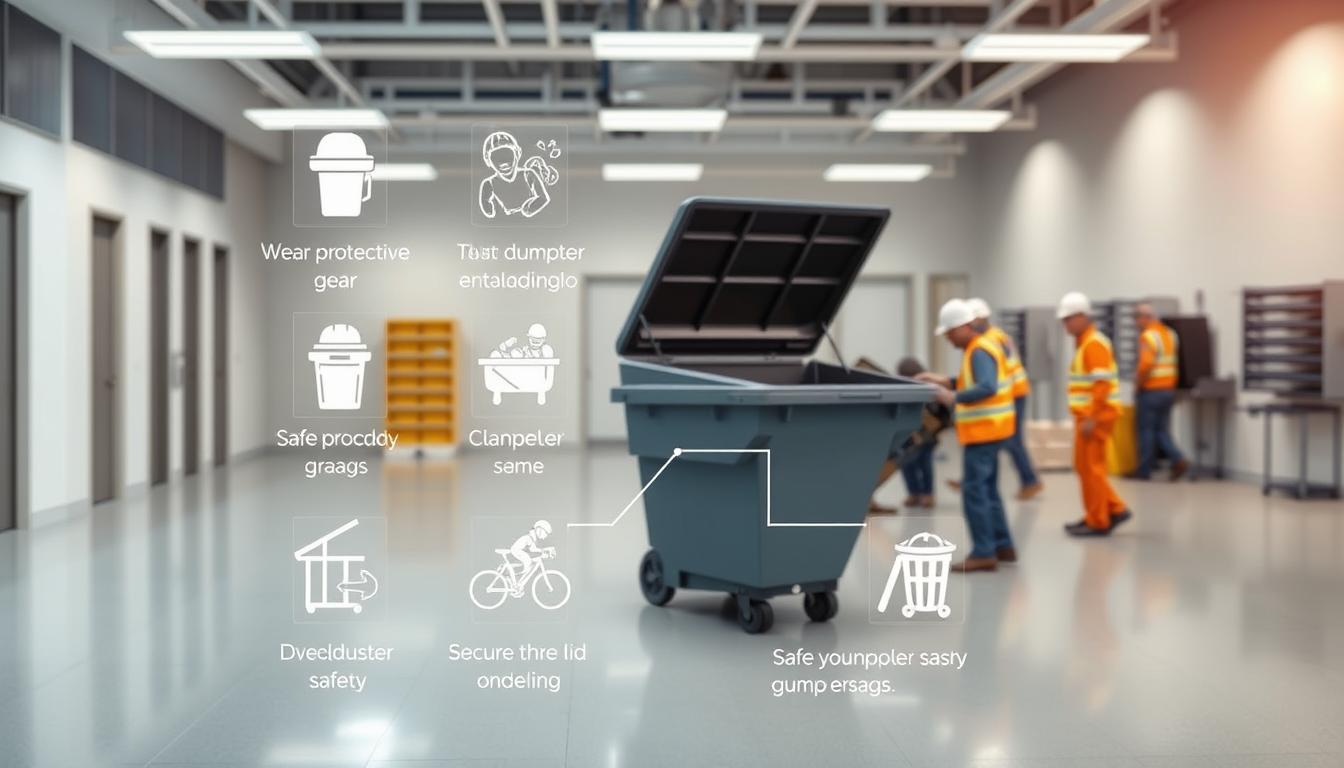
Set up a cleaning station with these supplies ready to go:
- Disinfectant wipes – for quick surface cleaning
- Bleach solution – 1 part bleach to 9 parts water
- Scrub brush – for stubborn dirt and grime
- Rubber gloves – protect your hands during cleaning
- Paper towels – for drying items completely
Electronics Need Special Attention
Electronics require extra care during the cleaning process. Wipe down the exterior with disinfectant, but avoid getting moisture in ports or openings.
Test electronics immediately after cleaning to see if they work. Non-functional electronics often contain valuable parts or metals that recycling centers will pay for.
Category-Specific Sorting Tips
Different types of items need different approaches when you’re deciding their fate. The art of dumpster diving includes knowing what’s worth keeping and what’s not.
Clothing and Textiles
Check clothing for stains, tears, and odors before deciding its category. Name brand items in good condition go straight to the sell box, even if they’re not your style.
Designer items, vintage pieces, and quality basics can bring good money on resale platforms. Everything else either goes to donate or trash depending on condition.
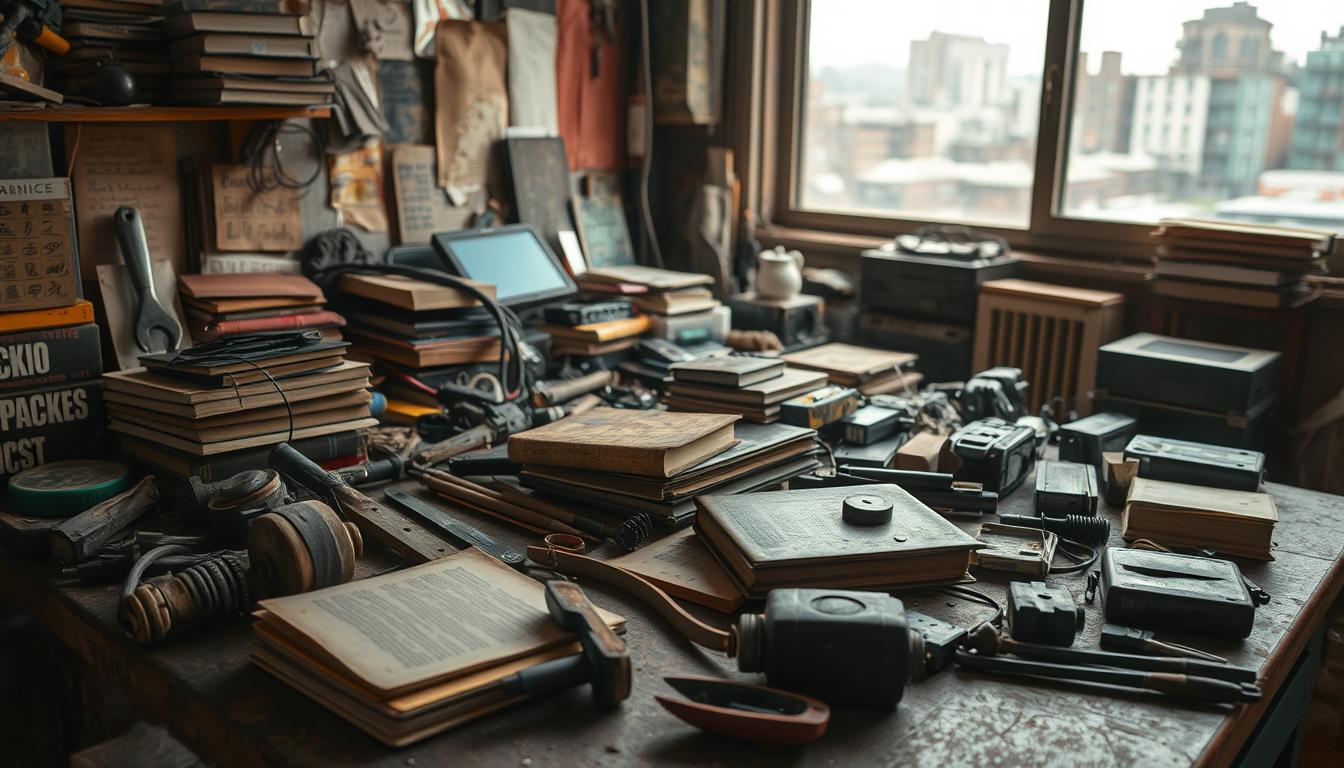
Books and Media
Scan book spines for first editions, textbooks, or popular titles. College textbooks from recent years often sell for $20-50 even if they’re used.
DVDs and CDs have limited value now, but complete box sets or rare releases might be worth checking prices online before deciding.
Home Goods and Decor
Household items need the most careful evaluation since they take up storage space. Only keep items you’ll actually use or that have clear resale value.
Quality kitchen appliances, brand-name home goods, and unique decor pieces usually make good candidates for the sell pile.
Use the One-Touch Rule
Handle each item only once during sorting – make your decision and put it in the right box immediately. This prevents second-guessing and speeds up the entire process.
Storage Solutions for Sorted Items
Proper storage keeps your sorted finds organized and prevents them from taking over your living space. Clear plastic bins work better than cardboard boxes because you can see what’s inside.
Label each bin with the contents, date found, and estimated value for sell items. This system helps you track what you have and reminds you to actually sell valuable finds instead of letting them sit.
Climate-Controlled Areas Work Best
Store sorted items in areas that stay dry and don’t get extreme temperatures. Garages work in mild climates, but basements or spare rooms are better for long-term storage.
Avoid attics and outdoor sheds where temperature swings can damage electronics, warp books, or create moisture problems that ruin your finds.
Setting Time Limits
The biggest mistake new dumpster divers make is keeping too much stuff for too long. Set strict time limits for each category to prevent accumulation.
Use these timeframes to keep your storage manageable:
- Keep items – 30 days. If you haven’t used it in a month, move it to donate.
- Sell items – 60 days. List valuable finds within two weeks, sell within two months.
- Repair items – 45 days. Fix it quickly or accept it’s not worth your time.
- Donate items – Weekly. Make donation runs every weekend to prevent buildup.
Digital Tracking Methods
Keep a simple spreadsheet or phone note listing your valuable finds with their estimated worth. This helps you remember what you have and motivates you to actually sell items.
Include the date found, description, estimated value, and status (stored, listed, sold). Your first dive should include setting up this tracking system from day one.
Photo Documentation
Take photos of valuable items before storing them. This helps with online listings later and serves as a visual inventory of what you have.
Store photos in a dedicated folder on your phone with the item description and value in the filename. This makes creating listings much faster when you’re ready to sell.
Creating Efficient Workflows
Develop routines that make sorting automatic rather than overwhelming. The most successful dumpster divers treat sorting like any other household chore – something that gets done on a schedule.
Sort immediately after each diving session while you still remember where items came from and why you thought they were valuable. Waiting even one day makes the process much harder.
Batch Similar Tasks
Group similar activities together for efficiency. Clean all items first, then sort everything, then handle storage and documentation.
Make donation runs and listing creation separate activities from sorting. This keeps you focused on the immediate task without getting distracted by other steps.
Articles You May Like
Frequently Asked Questions
How long should I spend sorting after each diving session?
Plan for 30-60 minutes of sorting time for every hour spent diving. This ratio keeps items from piling up and becoming overwhelming.
What if I can’t decide which category an item belongs in?
When in doubt, put questionable items in the donate box. It’s better to let go of something you’re unsure about than to clutter your space with maybes.
Should I research every item’s value before sorting?
Only research items that clearly look valuable or unique. Quick phone searches are fine, but don’t spend hours researching common items worth under $10.
How do I handle items that might be valuable but need extensive cleaning?
Put heavily soiled valuable items in the repair box and set a two-week deadline to clean them properly. If you miss the deadline, donate them rather than letting them sit indefinitely.
Final Thoughts
Sort Dumpster Finds systematically and you’ll maximize the value of your diving efforts while keeping your home organized. The key is making quick decisions and sticking to time limits so items don’t accumulate faster than you can process them.
Start with the five-box method and adjust the system based on what types of items you find most often. Scouting the best dumpster locations becomes more rewarding when you have an efficient system for handling your discoveries.